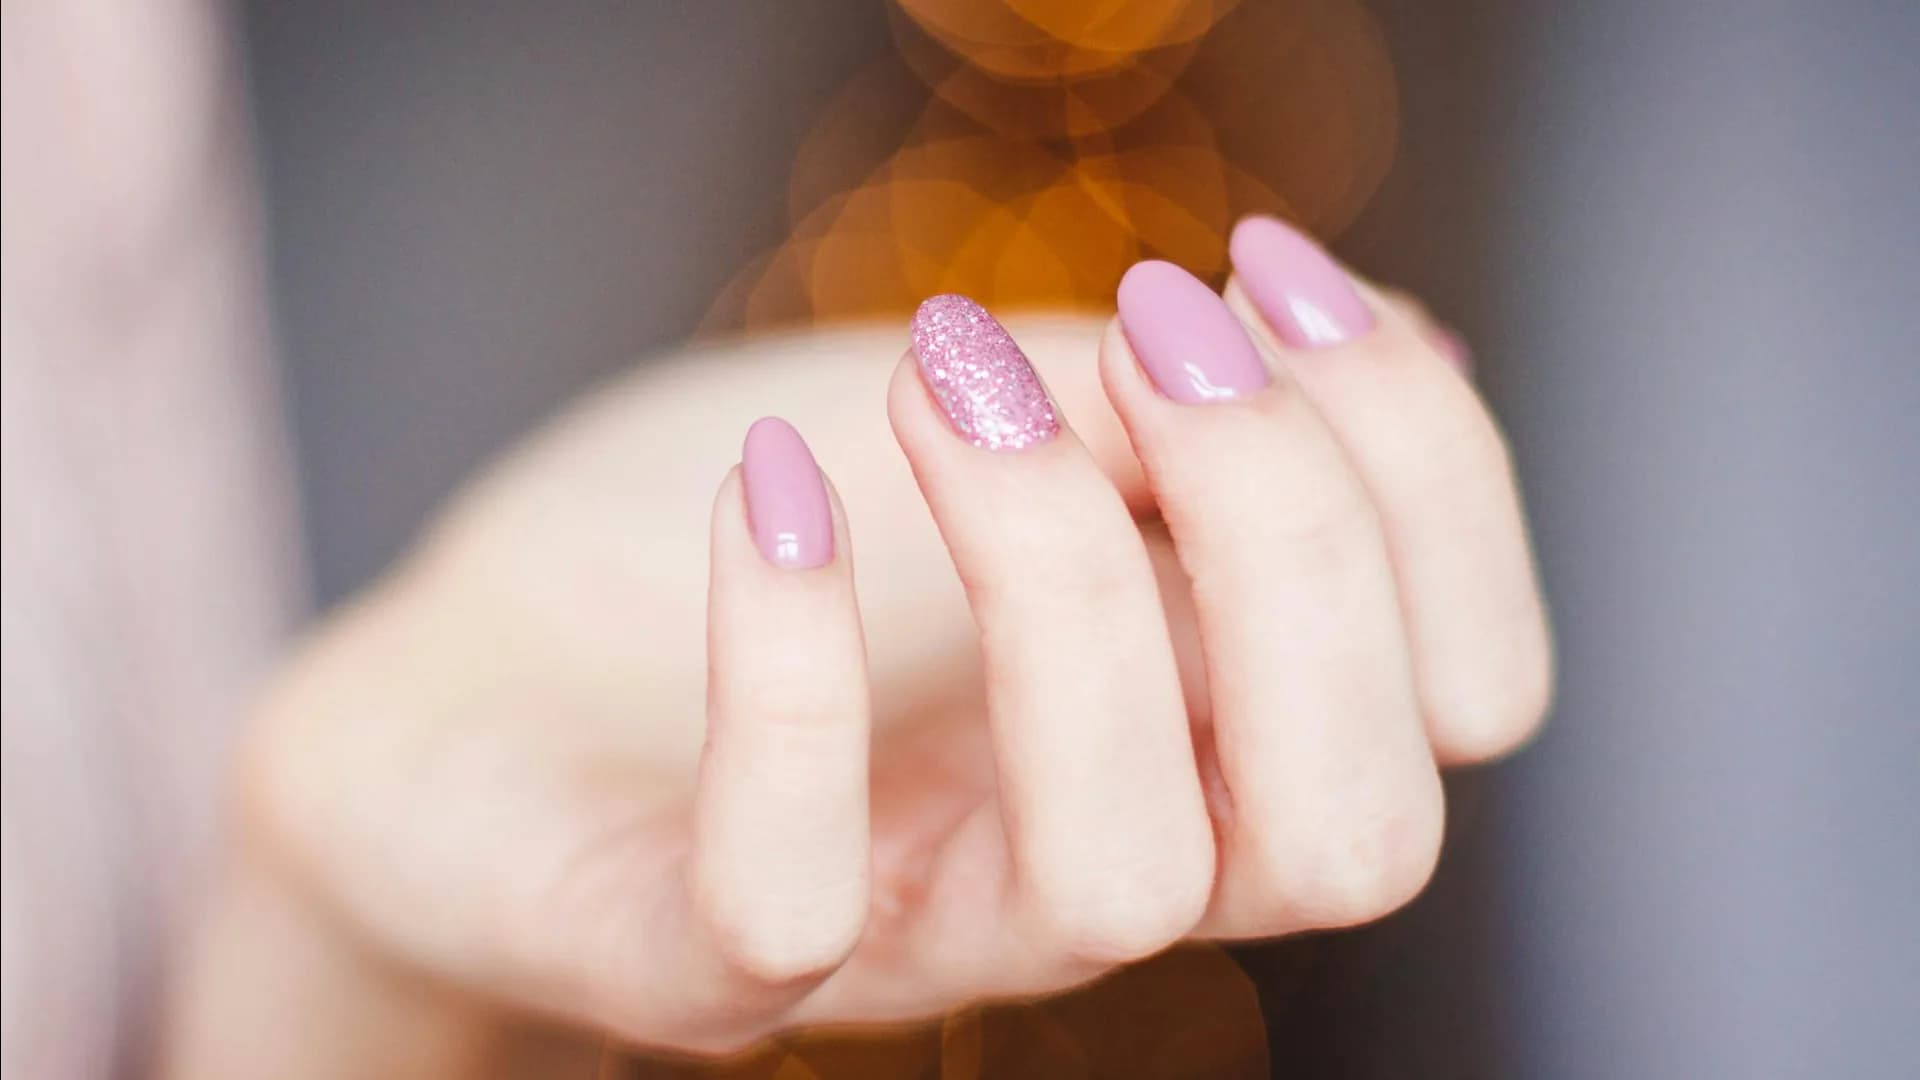
Photo: Valeria Boltneva
Pearlescent and Chrome Nails: Achieving That Iridescent, Light-Catching Finish
Chrome and pearlescent finishes turn nails into liquid metal or shimmering pearl. Here's exactly how each technique works, what products you need, and how to get that mirror-like or iridescent effect at home.
There's something hypnotic about nails that shift color in the light. Chrome nails deliver a mirror-like metallic surface. Pearlescent nails create a softer, iridescent shimmer that moves between pink, blue, gold, and white depending on the angle. Both finishes have dominated nail trends for years, and 2026's versions are more refined than ever.
Here's how each technique works and how to get salon-quality results.
Chrome vs. Pearlescent: What's the Difference?
Chrome nails produce a high-shine, mirror-like metallic finish. They look like liquid silver, gold, rose gold, or any metallic shade. The surface is smooth and reflective, almost like polished metal. The effect is bold, dramatic, and unmistakable.
Pearlescent nails create a softer, multi-tonal shimmer that shifts between colors as light hits at different angles. Think of the inside of a seashell or the surface of a pearl. The finish is ethereal rather than metallic, with a milky translucence that chrome doesn't have.
Both effects are achieved using fine pigment powders rubbed onto a cured gel surface. The difference lies in the pigment type and the base color underneath.
What You Need
Quick Check
Curious if your routine matches your skin goals?
Take our 60-second skin diagnostic and get personalised ingredient recommendations.
For either finish, the core supplies are similar:
- Chrome or pearlescent pigment powder (the key product)
- Gel base coat and no-wipe gel top coat (essential for the powder to adhere)
- UV or LED lamp (36W minimum)
- Silicone applicator, eyeshadow sponge, or finger (for rubbing in the powder)
- Lint-free wipes
- Gel cleanser or alcohol
- Nail dust brush (soft, to remove excess powder)
About the Powders
Chrome powders are ultra-fine metallic pigments, typically aluminum-based. They come in silver, gold, rose gold, holographic, and colored metallics. The finer the grind, the more mirror-like the finish.
Pearlescent (aurora) powders contain light-refracting particles, often mica-based with mineral coatings that split white light into spectral colors. They produce that color-shifting rainbow effect. Popular varieties include aurora, unicorn chrome, ice chrome, and fairy dust.
How to Apply Chrome Nails: Step-by-Step
Step 1: Prep and Base
Prep your nails normally: push cuticles, lightly buff, dehydrate. Apply gel base coat and cure. Then apply one or two coats of black gel polish and cure each layer.
Why black? Chrome powder is most reflective over a dark base. Black creates the highest contrast, producing that true mirror effect. You can use other dark colors (navy, dark gray, burgundy) for tinted chrome effects.
Step 2: Apply No-Wipe Top Coat
This is the critical layer. Apply a no-wipe gel top coat and cure it fully. The cured top coat surface is what the chrome powder bonds to.
Important: It must be a no-wipe formula. Regular top coats leave a tacky inhibition layer that creates a gritty, uneven finish instead of a mirror surface.
Step 3: Rub In the Chrome Powder
Wait 30 seconds after curing for the nail to cool slightly. Then:
- Pick up a small amount of chrome powder with your applicator
- Press and rub the powder into the nail surface using firm, circular motions
- Work from the center outward, then side to side
- Continue rubbing until the surface transforms from matte to a high-shine mirror
- Use a dust brush to remove loose powder from the cuticle area and sidewalls
The transformation is immediate and satisfying. You'll literally watch the nail shift from dull to liquid metal.
Step 4: Seal With Top Coat
Apply another layer of no-wipe gel top coat over the chrome powder and cure. This seals the pigment and prevents it from rubbing off. Some people apply two sealing layers for extra durability.
Tip: Apply the top coat gently to avoid disturbing the powder layer. Don't scrub the brush across the surface. Float it on with light, even strokes.
How to Apply Pearlescent (Aurora) Nails
The process is nearly identical to chrome, with one key difference: the base color.
Step 1: Prep and Base Color
Instead of black, use a white or nude base. Pearlescent powders are translucent and create their color-shifting effect by refracting light through the pigment particles. A light base lets that light pass through, producing the full rainbow shift.
- White base: Maximum iridescence, strongest color shift
- Nude or light pink base: Softer, more wearable pearlescence
- Light blue or lavender base: Adds a cool-toned starting point to the color shift
Apply your chosen gel polish color, cure each coat.
Step 2: Apply No-Wipe Top Coat and Cure
Same as chrome. This layer is non-negotiable.
Step 3: Rub In the Pearlescent Powder
Using the same technique as chrome, rub the aurora or pearlescent powder into the cured top coat. The motion should be gentle but firm. You'll see the color shift appear as you work.
Pearlescent powders are more forgiving than chrome. The finish is intentionally soft and diffused rather than mirror-sharp, so slight unevenness is less noticeable.
Step 4: Seal and Cure
Apply no-wipe gel top coat, cure. Same sealing process as chrome.
Advanced Techniques
Ombre Chrome
Apply chrome powder to only the tip or lower half of the nail, blending it into the base color. This creates a gradient effect where the nail transitions from a solid color to metallic. Works beautifully with rose gold chrome over nude.
Color-Shifting Chrome
Layer two different chrome powders. Apply the first color, seal with top coat and cure, then apply the second color on top. The overlap creates complex, multi-dimensional color shifts.
Cat-Eye Chrome
Combine magnetic gel polish with chrome powder. Apply magnetic gel, hold a magnet to create the cat-eye stripe, cure, then apply chrome powder over the top. The result is a chrome finish with a magnetic stripe running through it.
Pearlescent French Tip
Apply pearlescent powder only to the free edge of the nail over a nude base. The tips catch light and shimmer while the base stays clean and natural. This is one of the most elegant applications of pearlescent powder.
Troubleshooting Common Issues
Grainy, Not Mirror-Like
Cause: Using a regular top coat instead of no-wipe, or not rubbing long enough.
Fix: Always use no-wipe gel top coat. Rub the powder firmly for at least 30 seconds per nail. The more you work it in, the smoother the finish.
Chrome Chips or Wears Off Quickly
Cause: Inadequate sealing or thin top coat application.
Fix: Apply two layers of no-wipe top coat over the powder. Make sure each layer is fully cured. Cap the free edge with top coat to prevent peeling from the tip.
Powder Won't Stick
Cause: Nail surface is still warm from curing, or there's residue on the surface.
Fix: Wait 30 to 60 seconds after curing before applying powder. Ensure the surface is clean and completely cured.
Pearlescent Looks Dull
Cause: Dark base color absorbing light instead of reflecting it.
Fix: Switch to a white or very light base. Pearlescent powders need light to refract. Dark bases kill the effect.
How Long Does It Last?
Properly applied chrome or pearlescent nails last 2 to 3 weeks with normal wear. The sealed powder is protected under the top coat, so it doesn't rub off during daily activities. As with all gel manicures, the limiting factor is usually nail growth creating a visible gap at the cuticle.
Removal follows standard gel removal: soak in acetone wraps for 15 to 20 minutes, or gently file off. The chrome or pearlescent powder comes off with the gel layers.
Choosing Between Chrome and Pearlescent
- Go chrome for: bold looks, nighttime events, editorial or fashion-forward styles, metallic accessories coordination
- Go pearlescent for: everyday elegance, office-appropriate shimmer, bridal or soft occasion looks, subtle color-play
- Go both for: combination manicures where different nails feature different finishes (accent chrome nails with pearlescent base nails)
The Bottom Line
Chrome and pearlescent finishes are among the most visually striking nail techniques available. The process is straightforward once you understand the basics: proper base color, no-wipe top coat, quality pigment powder, and patient rubbing. Chrome delivers drama. Pearlescent delivers ethereal beauty. Both deliver compliments.
Related Reading
Join 50,000+ beauty lovers
Enjoyed This Article?
Get our best picks, reviews, and skincare secrets delivered to your inbox weekly.
No spam, unsubscribe anytime