Photo: www.kaboompics.com
Soft Ombré Gradient Nails: How to Blend Colors for a Seamless Finish
Learn the sponge technique and brush-blending methods to create flawless ombré gradient nails at home, with tips for colour selection and clean edges.
Ombré gradient nails look complex but rely on a surprisingly simple technique. Two or three colours blended with a makeup sponge create that seamless fade from cuticle to tip. Once you understand the method, you can apply it to any colour combination and any nail length.
Choosing Your Colour Palette
The gradient effect depends entirely on how well your colours transition into each other. Not every combination works.
Stay within the same colour family for your first attempt. A light pink fading into a deeper rose, or a pale lavender into rich purple. Colours that share undertones blend naturally without creating muddy middle tones.
Two-colour gradients are easiest. Three colours look stunning but require more precision. Start with two until your technique is solid.
Contrast matters. If your two colours are too similar, the gradient won't be visible. You need enough difference that the eye can track the fade. A light and medium shade from the same family works better than two mediums.
Avoid mixing warm and cool tones. A warm coral blending into a cool pink creates a grey-brown muddy zone in the middle. Stick to all warm or all cool.
Opacity affects the result. Sheer and jelly polishes create softer, more natural-looking gradients. Highly opaque cremes create sharper colour blocks with a smaller transition zone. Neither is wrong, but they look very different.
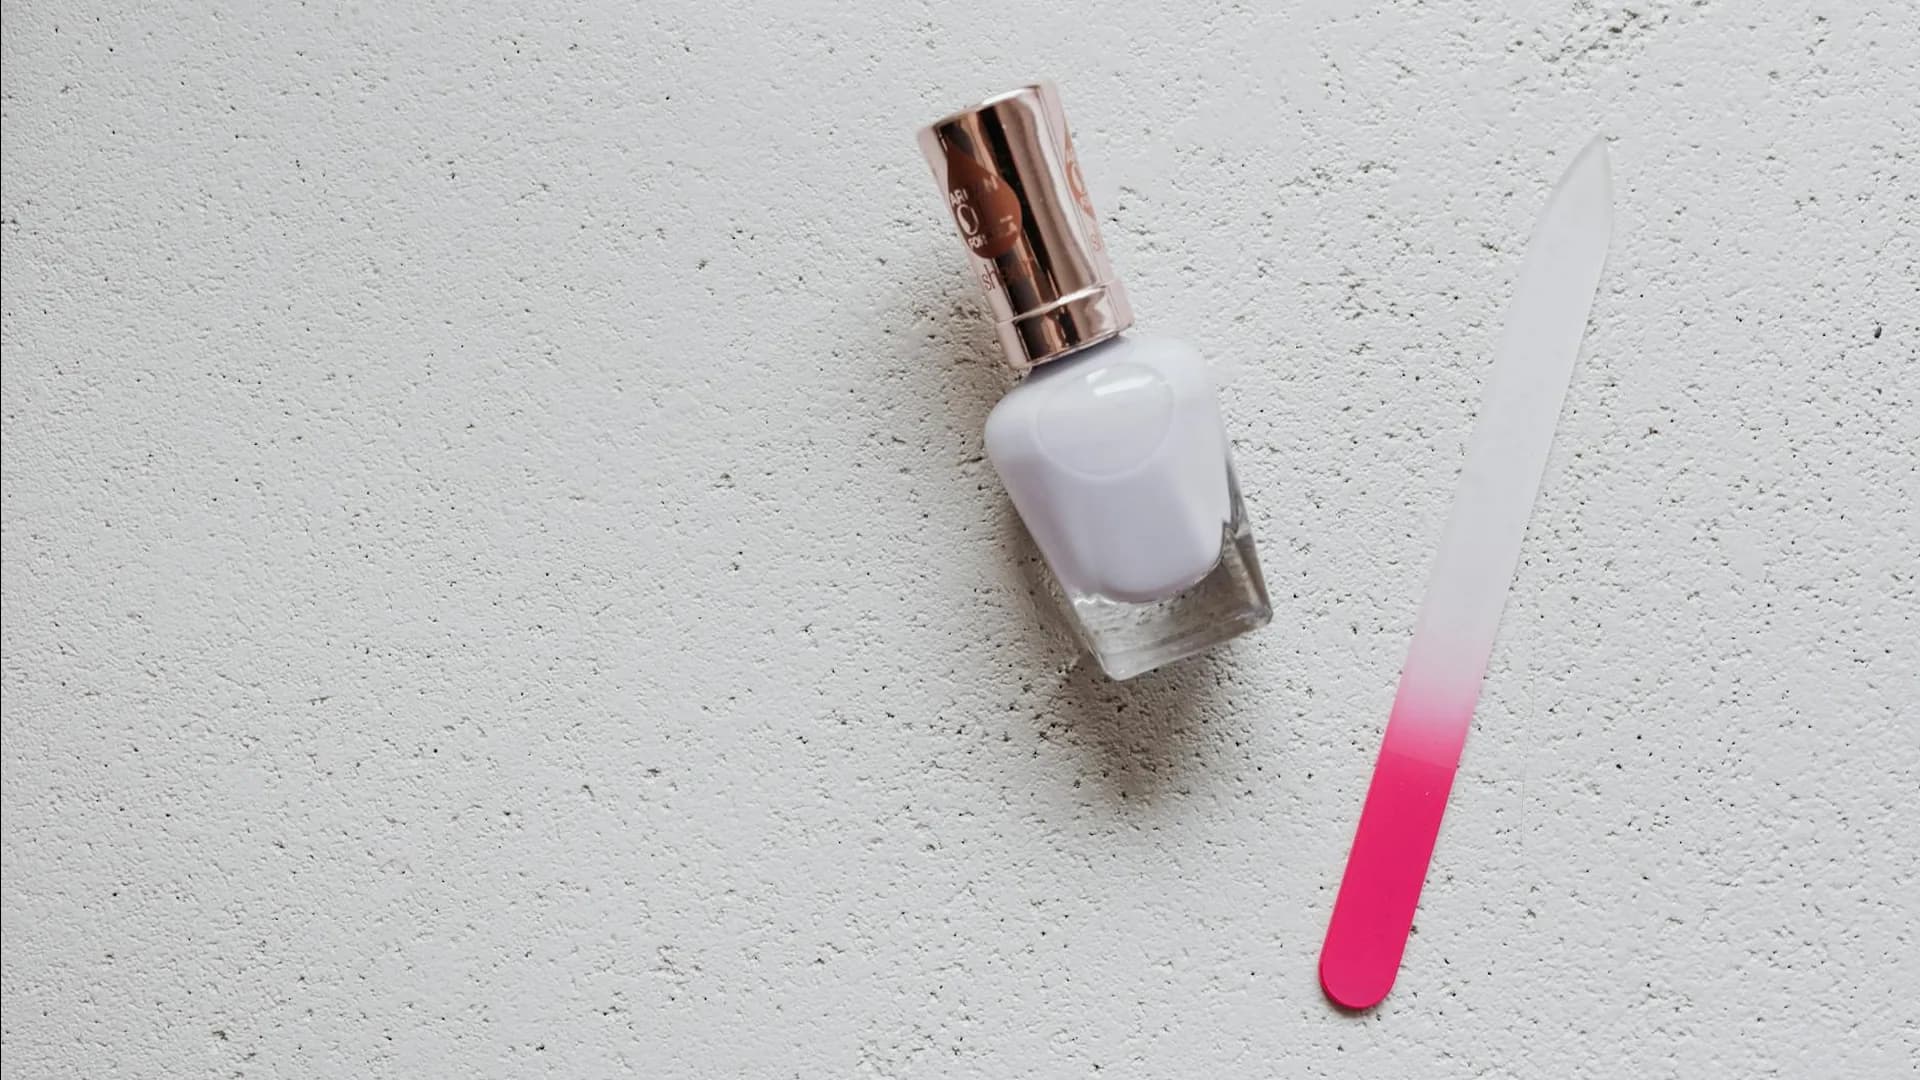
What You Need
Quick Check
Curious if your routine matches your skin goals?
Take our 60-second skin diagnostic and get personalised ingredient recommendations.
- Two or three nail polish colours in your chosen palette
- White nail polish (optional, as a base for brighter gradients)
- Makeup sponges — fine-grained cosmetic wedges or dedicated nail art sponges. Avoid coarse kitchen sponges.
- Base coat and top coat
- Liquid latex or peel-off base coat for cuticle area protection
- Acetone and a small brush for cleanup
- Tin foil or a plastic palette for applying polish to the sponge
The Sponge Method: Step by Step
This is the standard technique used by both beginners and professionals. It's reliable and forgiving.
Step 1: Prepare Your Nails
- Apply base coat and let it dry completely
- If using light or neon colours, apply one coat of white polish as an underpaint. This makes pastel and bright shades pop without needing extra gradient layers.
- Apply liquid latex around your cuticles and the skin bordering each nail. This peels off after you finish, taking all the mess with it. Worth every second.
Step 2: Load the Sponge
- On a piece of foil or palette, paint stripes of each colour side by side, slightly overlapping in the middle
- Press your makeup sponge into the polish stripes so it picks up the colours in the correct order
- Dab the sponge on the foil once or twice before your nail. This removes excess polish and starts blending the colours together on the sponge.
Step 3: Apply to the Nail
- Press the sponge onto your nail with the lighter colour at the cuticle and the darker shade at the tip (or vice versa, depending on your design)
- Use a gentle bouncing motion, dabbing the sponge up and down several times. Don't drag or slide it.
- The first application will look patchy and textured. That's completely normal.
Step 4: Build Up the Gradient
- Reapply polish to the foil in the same stripe pattern
- Reload the sponge and repeat the dabbing process on the same nail
- Most gradients need 3-4 layers to look opaque and blended
- Let each layer get slightly tacky (about 30-60 seconds) before adding the next. Fully wet layers slide and smear.
Step 5: Clean Up and Seal
- Peel off the liquid latex. This is the satisfying part.
- Use a small brush dipped in acetone to clean up any remaining polish on the skin
- Apply a generous top coat immediately. This is critical. The sponge creates a textured surface, and top coat smooths everything out. Without it, your gradient will feel rough and look grainy.
- A thick, self-levelling top coat works best. Apply slightly more than you normally would.
The Brush Blending Method
This technique skips the sponge entirely and uses a clean brush to blend where two colours meet. It's faster for two-colour gradients but requires a steadier hand.
How It Works
- Apply the lighter colour to the bottom two-thirds of the nail
- Apply the darker colour to the top third, slightly overlapping the light shade
- Take a clean, flat brush (a dedicated nail art blending brush works best)
- Gently stroke across the overlap zone where the two colours meet, using light horizontal motions
- The brush picks up both colours and deposits them back in a blended stripe
- Clean the brush on a lint-free wipe and repeat until the transition is smooth
- Apply top coat
This method gives a cleaner result with less cleanup but doesn't work as well for three-colour gradients or very dramatic colour transitions.
Gel Polish Ombré
The sponge method works with gel polish too, with a few adjustments.
- Don't cure between sponge layers. Apply all gradient layers while uncured, then cure once you're happy with the blend.
- Use a slightly dampened sponge (wetted with rubbing alcohol and squeezed out). This prevents gel from absorbing into the sponge too quickly.
- Gel gives you more working time since it won't dry until you cure it. Use that extra time to perfect the blend.
- Cure, then apply gel top coat and cure again. The smoothing effect of gel top coat is even better than regular top coat for hiding sponge texture.
Troubleshooting Common Problems
Gradient looks streaky, not blended. You need more layers. Most people stop at 2 when they need 3-4. Each layer builds opacity and softens the transition.
Colours are muddy in the middle. Your colour choices are too far apart on the colour wheel, or you're mixing warm and cool tones. Try colours closer in the same family.
Sponge texture won't go away. Your top coat is too thin. Apply a thick, glossy top coat. If one layer doesn't smooth it out, let it dry and apply a second.
Cuticle area is a mess. Liquid latex or peel-off base coat around the nail eliminates this entirely. It's the single most impactful supply upgrade for gradient nails.
Gradient shifts position on each nail. Mark your sponge or use a guide line. The lighter colour should start at the same point on every nail for a cohesive look across all ten fingers.
Polish dries on the sponge before you apply it. Work faster, or apply a thicker line of polish on the foil. In dry environments, mist the sponge lightly with water (for regular polish) or rubbing alcohol (for gel) to extend working time.
Colour Combinations Worth Trying
These pairings create reliable, visually striking gradients.
- Nude to dusty rose — subtle and office-appropriate
- White to sky blue — fresh and modern
- Peach to coral — warm and summery
- Lavender to deep violet — dramatic without being dark
- Soft pink to hot pink — monochromatic impact
- Champagne to bronze — elegant metallics
- Mint to teal — cool-toned statement
Making Your Gradient Last
Cap the free edge with your top coat. Gradients show tip wear quickly because the darker colour at the tip is the most visible area of chipping.
Apply top coat every 2-3 days to refresh the seal and maintain shine. Sponge-applied polish is slightly more porous than brush-applied, so it benefits from extra protection.
Avoid hot water for the first few hours after application. Heat softens polish faster, and the multi-layered gradient takes slightly longer to fully harden than a standard manicure.
Once you've nailed the sponge technique, the creative possibilities open up. Vertical gradients, diagonal fades, rainbow transitions across five fingers. The method stays the same. Only the colours change.
Related Reading
Join 50,000+ beauty lovers
Enjoyed This Article?
Get our best picks, reviews, and skincare secrets delivered to your inbox weekly.
No spam, unsubscribe anytime